
Vanlife, Skoolie, & RV Solar Power System Elements
Your Solar Setup can be the most complicated and confusing part of your Build. There is a lot of conflicting information out there, and there are a lot of variables. Our goal is to simplify it as much as possible, show you what you actually need to make it work, and help you avoid spending too much on what often is (but doesn’t have to be) the most expensive part of your Bus, Shuttle, or Van Conversion.
Read our Solar 101 Tutorial for an in-depth look at what each component does and how it all goes together. (Scroll down on this page for a lighter version of the same.)
If you just want a Basic Solar Setup that will meet your needs, without breaking the bank, check out our Simple Solar Tutorial for the easiest System yet, and the specific Solar Products used to build it!
Are you wondering“How much Solar do I need for my Van, Skoolie, or RV? - Our Solar Cheat Sheet will help you size it all up and build a Solar Shopping List.
Looking for Solar Setup Instructions? On a tight budget and need to do it one step at a time? Use our Step By Step Solar Tutorial to put it together piece by piece.
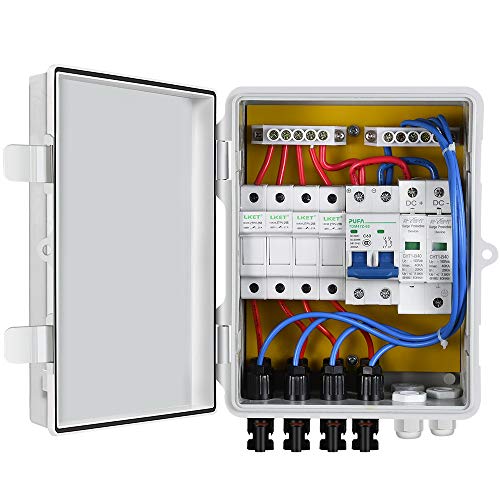
A basic Skoolie, Van or RV Solar Power Setup consists of Solar Panels, a Charge Controller (Solar Charger), Batteries, or a Solar Battery Bank, and an Inverter. Additionally, you’ll want Shore Power and Engine Charging components, as well as distribution elements such as a Breaker Box and Fuse Block. - As we go through each Item, please click on the images to see our recommended products and to compare options.
RV Solar Kits
Power Up: Many people try to find an all inclusive RV Solar Panel Kit to avoid the pitfalls (and math) of designing a Basic Solar Setup. - It is important to note that most RV Solar Kits are not complete. You’ll have to add elements from the sections below to make it fully functional, and they often come with certain items that you will need to upgrade.
The two Kits that we feature here are good “starting points” for your Solar Power System but you can typically save money and time by putting one together piece by piece. - The good news is that you can still skip (most of) the math by using our Simple Solar Tutorial or Solar Cheat Sheet to see what you need and what sizes to get.


From The Driver’s Seat: Your Skoolie, Van, or RV Solar Setup is often the most expensive part of your Build, but it can be done “step-by-step” to spread out the costs over time, and you can start small and scale up so you don’t over purchase from the beginning. See our Step By Step Solar Tutorial for details.
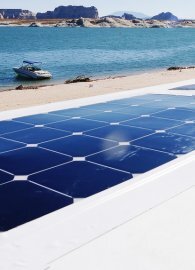
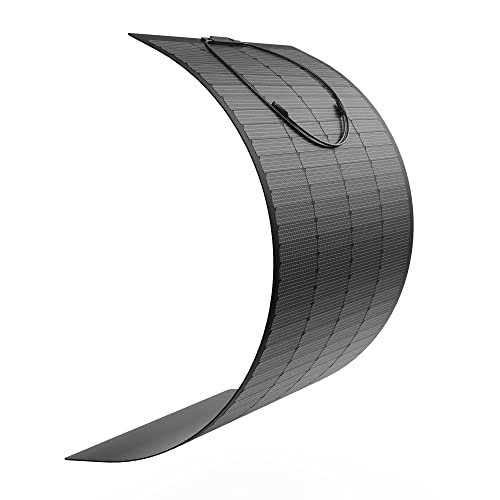
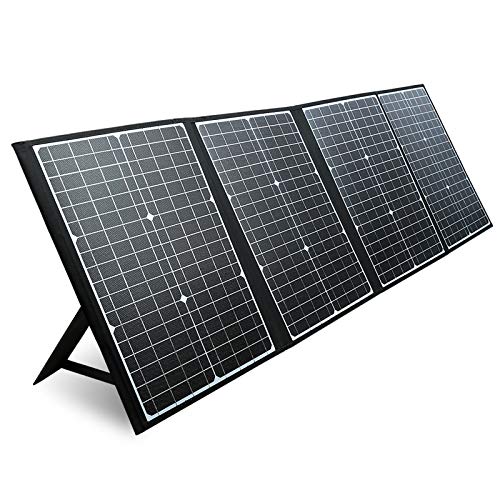
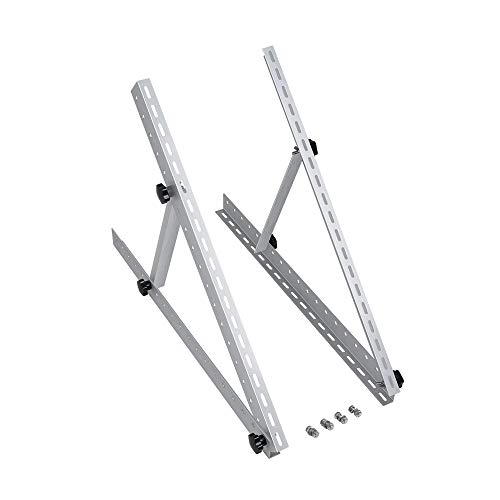
Skoolie, Vanlife, RV Solar Panels
Essentially, you will choose between 3 installation types of Solar Panels (Rigid, Flexible, and Portable) and 3 construction types ( Monocrystalline, Polycrystalline, and Thin-Film). There are advantages and disadvantages to each, but typically Monocrystalline is the best bet. - See Our Solar 101 Tutorial for more info.
We currently use Alrska Solar Panels due to their their quality, efficiency, and their unique design. Click the images below to compare Solar Panel Cost and check out different sizes.


From The Driver’s Seat: The most common misconception about a Basic Solar Setup is that the Solar Panels Power the System. This is why people ask, “How much solar do I need…” or “How many Solar Panels does it take to run…” To clarify: It is actually The Batteries that power your Solar Setup. Solar Panels are merely the means by which you charge your Batteries using the power of the sun. You can also Charge The Batteries using the Engine Alternator and Shore Power. (Scroll down for more.)
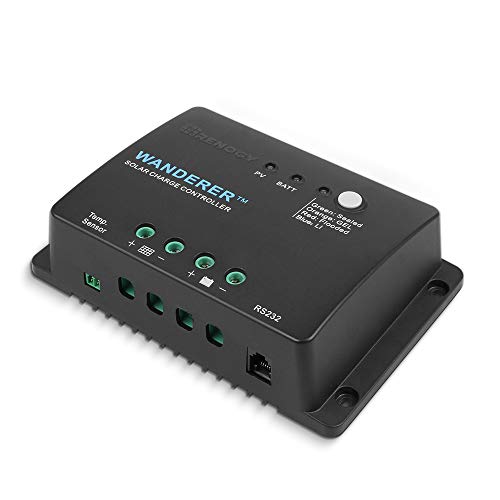
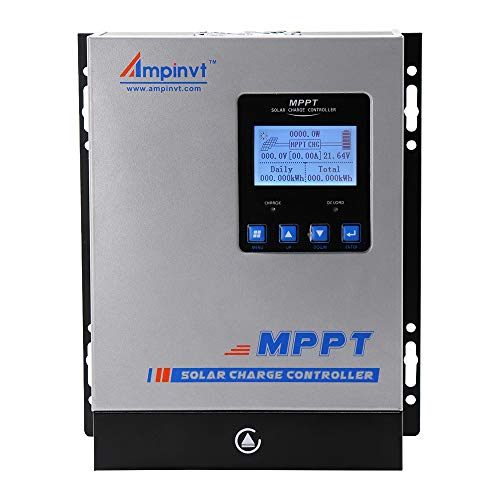
Charge Controllers
The power your Solar Panels draw from the sun will vary greatly. A Solar Charge Controller basically balances it out and optimizes your Solar Battery charging.
The Renogy Wanderer (PWM) has been around for years, and can work if you’re on a very tight budget and have 300w or less in total Solar Panels. In most cases, however, an MPPT Charge Controller is a better solution (See Solar 101 for more info.)
Tech Tip: To properly size your Charge Controller: Divide the Input Wattage by the System Voltage, and multiply by 1.2 for safety. If you have 400 Watts of Solar Panels charging a 12 Volt system (400/12) you get 33.33 Amps. Multiply by 1.2 and you need a 40 Amp Charge Controller. 600 watts on 12 volts, x1.2 = 60 Amps. We explain this more in the Solar 101 Tutorial, but if that math makes your eyes roll, check out the Solar Cheat Sheet for the easy answer.
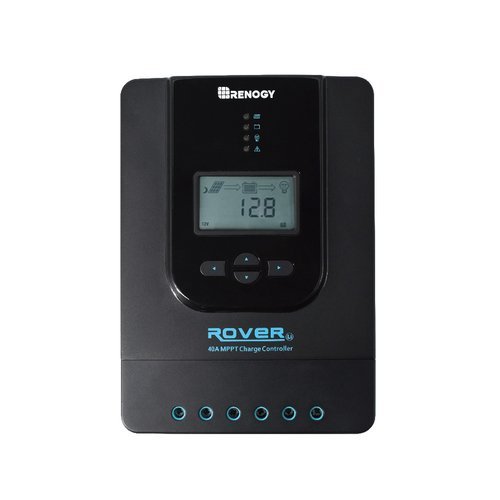

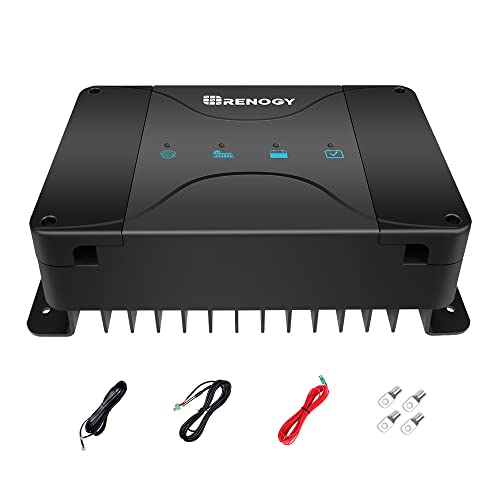
Back Of The Bus Bonus: Want to save some money, time, and space? Check out this combo Solar Charge Controller and DC-DC charger. Now you can charge your House Batteries with one device that works both with your Solar Panels and your Engine Battery! Click the image for more info. This item is featured in our Simple Solar Tutorial, and is what we use in our current Solar Setup.
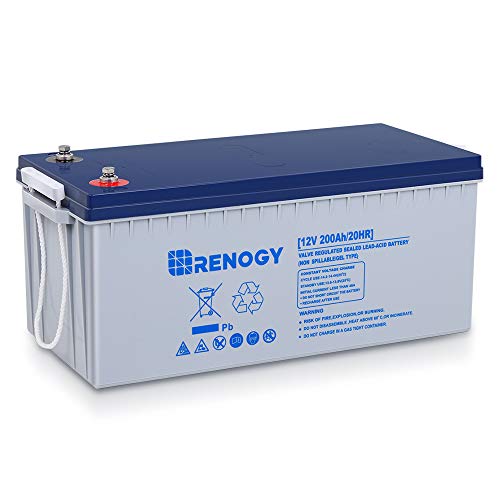
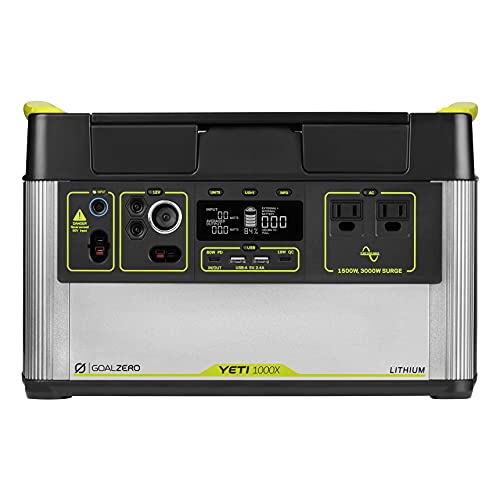
Solar Batteries
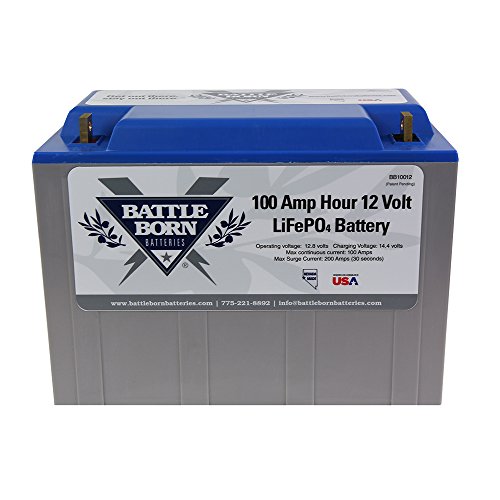
Often refered to as “House Batteries”, your Battery Bank is the “heart” of your Skoolie or Van Solar Setup. - You’re going to choose between one of three 3 Deep Cycle Battery types. - “Flooded Lead”, “Sealed Lead”, or “Lithium Ion”.
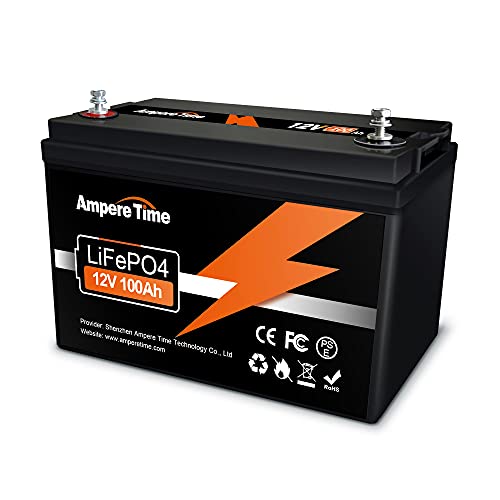
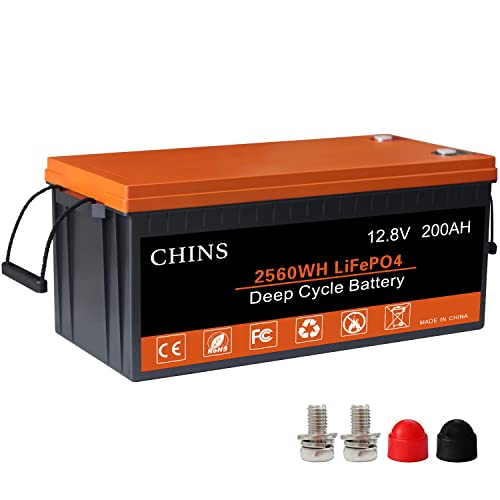
Lithium Ion Batteries: Also known as “LiFePO4”, these are the top of the line and best choice, not only for Skoolies and Vans, but just about any off-grid electrical application. - If you’ve spent much time on our site, you know that we are all about Saving Money in the Build Process, so when we suggest the most expensive option as our preferred, there’s a reason. - Lithium Batteries can be completely discharged without damaging the LiFePO4 Cells, and they will have much longer life. Additionally, Lithium Solar Batteries tend to be more stable, have a higher energy density, and better voltage capacity.
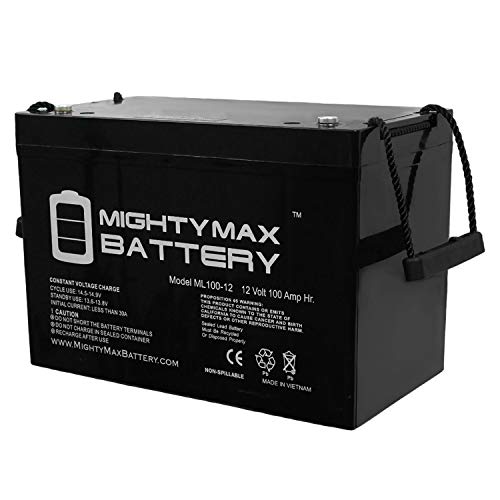
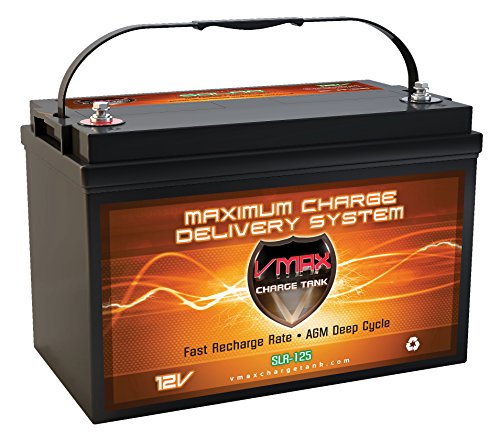
If you’re on an extremely tight budget, there’s nothing wrong with using AGM Batteries (we just swapped out a set that we’d been running for 4 years). Scroll down for some options in AGM, but click on the images below to compare prices. If there’s any area in which it’s worth the upgrade, this is it.
While Battle Born is the “OG” of Lithium Batteries and comes with a great reputation and customer service, we currently use the Redodo 300ah fetured below. Companies like Ampre Time and Chins are also putting out good quality / low cost products and getting great reviews!

We currently use the Redodo 300ah Battery and recommend it for value and quality. Click the image to go directly to the Redodo site and save. (All other Battery sizes are available.)
Use Coupon Code: Skooliesupply941 for an additional 5% off at checkout.
Sealed Lead (AGM): You can think of Sealed Lead Batteries as the “Mid-Level” option. They have a better discharge than Flooded Lead, but fewer Charging Cycles than Lithium.
As noted above, Lithium is a better choice overall, but AGM Batteries can certainly get the job done and will last for years if you keep them charged. Go with AGM if you are Doing a Build on The Cheap, relatively light on power, or perhaps just doing a simple RV Upgrade or Van Build that you only plan on using for a short time. See the Solar Cheat Sheet for more thoughts on this.
Flooded Lead: (not featured) These are the least expensive deep cycle batteries available, but regular maintenance and ventilation are required, and you will damage them if they discharge below 50%. We don’t recommend Flooded Lead, but there are some “Old Skool Pros” who still swear by Flooded Lead Golf Cart Batteries. Click the link if you’d like to check them out.
If you would like more information about Solar Batteries, are curious about phrases like “Deep Cycle” and ”Charging Cycle” or if you’re just wondering “What is an AGM Battery?”, please have a look at the Solar 101 Tutorial.
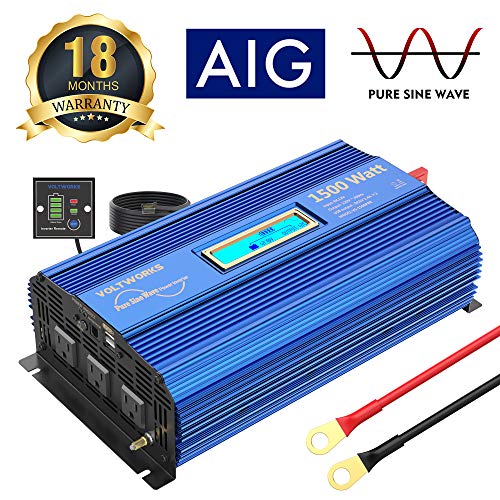
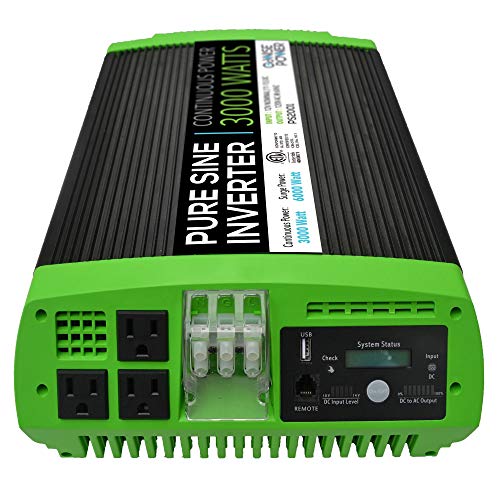
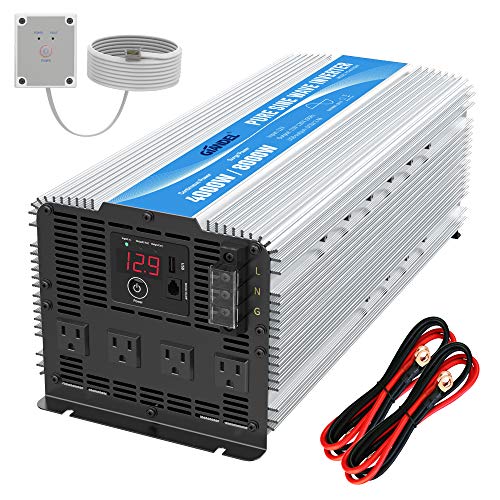
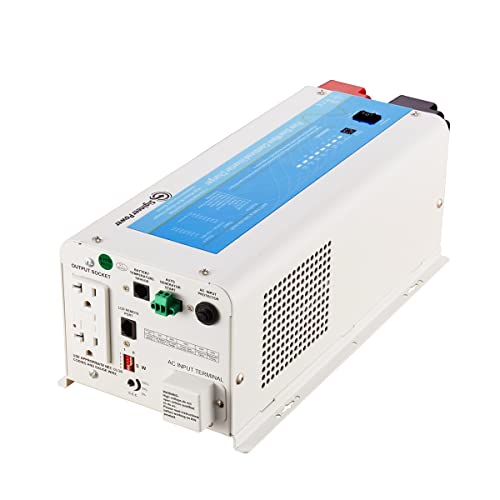
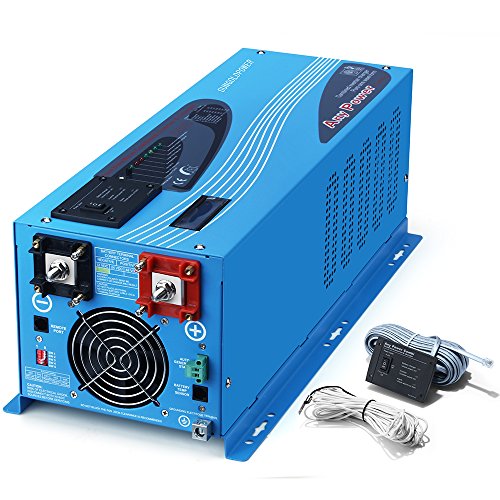
12v - 120v InverterS
These 12 volt Inverters convert DC Battery Power to 120v AC (household) power to run your appliances.
These companies offer 24v and 48v options as well. Click the images to compare, or scroll down for more options.
The size you need comes down to your personal consumption.
A 1500w Inverter will run most household appliances, but you should go 3000w or more if you run multiple high consumption items at once. See the Solar Cheat Sheet for some thoughts.
Tech Tip: There are many things (lights, phone chargers, even a laptop and TV.) that you can run off of the 12 Volt system to put less strain on your Inverter.
From The Driver’s Seat: Inverters come in “Pure Sine” or “Modified Sine”. In short, it’s worth a few extra bucks to go with Pure Sine Wave Inverters, especially if you plan on using any electronics. See the Solar 101 Blog on the Tutorials Page for more info.
Back of The Bus Bonus!: Still trying to Size it all up? It can certainly be overwhelming, so we’ve created a Solar Cheat Sheet to ease the math, a Step By Step Solar Tutorial to put it together piece by piece, and a Simple Solar Setup for the easiest way to get on The Road with Solar!.
Shore Power Connection, and Switching
While switching from House Batteries to Shore Power can be done manually, one mis-step could burn out your entire System. The Go Power TS 30/30 is the “darling” of the Automatic Transfer Switches, and worth every penny.
Most Systems are set for 30 amps, but upgrading to the 50/50 might be worth considering if you go heavy on power. See the Solar Cheat Sheet for an explanation.


Charging From Shore Power
Take advantage of being connected to Shore Power, to top off your House Batteries. Be sure you get a Smart Battery Charger that is designed for Deep Cycle Batteries, rather than a “trickle charger” like you would use on your car. - These units Charge in Stages and monitor the status of your Battery Bank for efficiency and protection. (more info in Solar 101.)
If you have a smaller Battery Bank, pick the size of your Smart Charger based on charging capacity. - Lithium Batteries can handle a maximum 50% Charging Current (50 amps for every 100 amp hours of Battery). AGM Batteries can only take 30% (30 amps per 100 amp hours).
Click the images to compare, as they come in various sizes. The Aims unit is also available with a 36v - 48v option.


From The Driver’s Seat: Scroll down to see how you can combine your Inverter, Smart Charger, and Transfer Switch into one device.
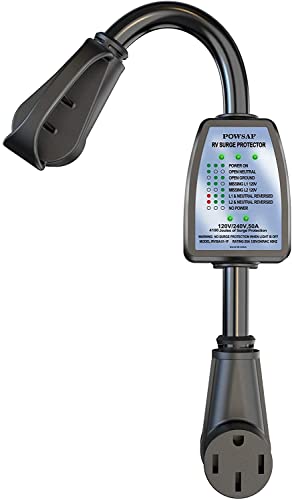
Shore Power Cables
There’s a bit of mystery surrounding what type and size of Shore Power Cords you need. - Most campgrounds are set up for a Standard “Y” 30 amp Shore Power Plug, but the RV Shore Power Connection to your Rig will be the Locking Style. Some parks will only have a 50 amp outlet and/or a 15 amp outlet, and sometimes you’ll just need to plug into someone’s house, or a Generator. - The Shore Power Adapters and Cables below should cover all of the possibilities, including Surge Protection. - Choose items from the 30 amp or 50 amp sections below, depending on the size of your Shore Power Connection.
30 Amp Shore Power Cords
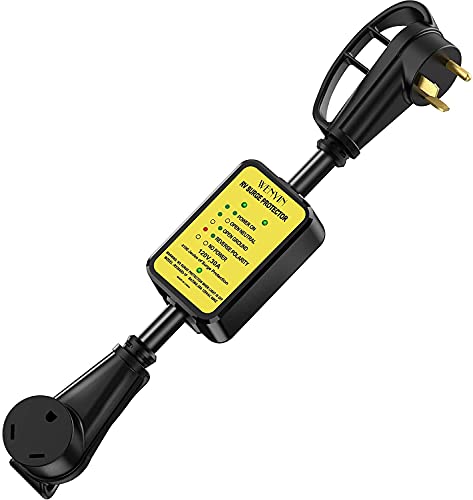


50 Amp Shore Power Cords


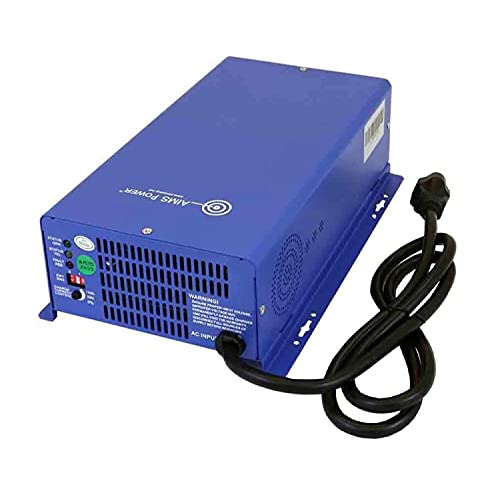
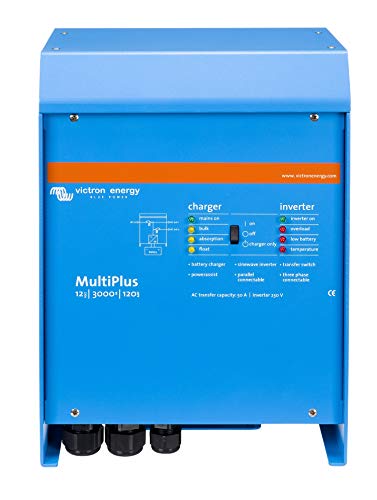
Inverter, Charger, and Transfer Switch in one
You can simplify your Skoolie or Van Solar Setup by combining these three functions into one device. An Inverter, Charger, Transfer Switch, as the name implies, will perform all three tasks, with less space and fewer cables. What are the advantages and disadvantages? Have a look at this Comparison Tutorial or see Solar 101 for more info.
We currently use the 3000 watt Renogy, featured below (See Simple Solar), but those of you on 24v or 48v systems will probably have the best luck with Sungold or Victron. Click the images for options.

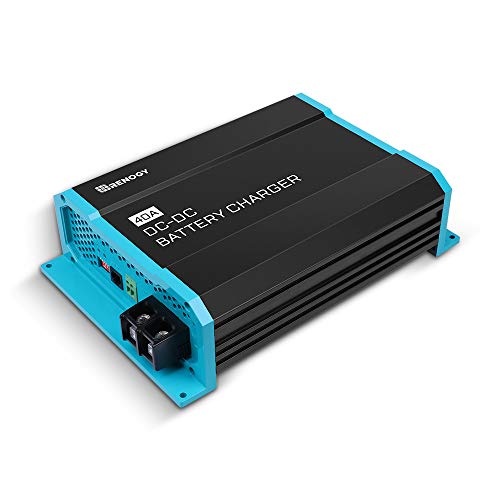
Engine Charging
You can utilize the Engine Alternator to charge you House Batteries while you drive! A DC to DC Charger works like the Smart Chargers listed above, by charging in Stages and optimizing output. It allows the Alternator the charge the starting battery first, then switches to House Battery Charging. (As noted above, maximum charging current is 30% total amp hours for AGM, or 50% for Lithium.) More info here. - We currently use the Renogy 50 amp DC - DC / MPPT Combo to combine Engine Charging and Solar Charging into one unit. - Those of you on a 24v or 48v System will want to look at Victron or SEC.


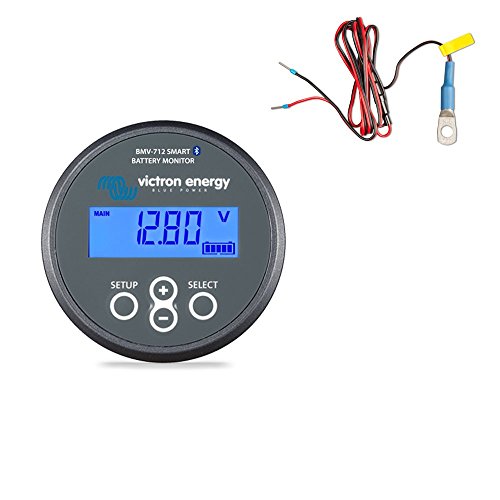
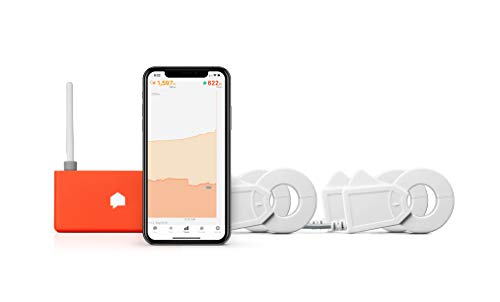
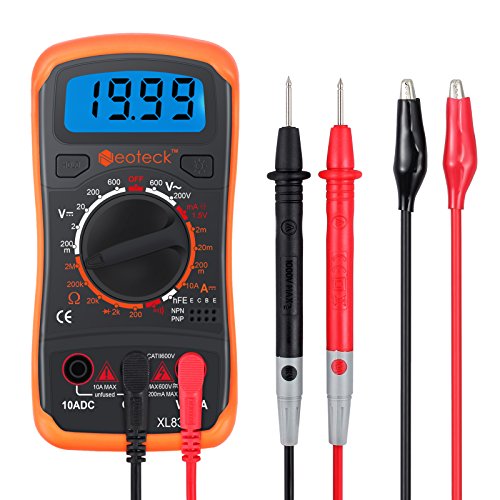
System Monitors
There are many ways to keep track of what’s going on in your Solar System, from those with smart phone aps to mounted units, or even a basic multi-meter.

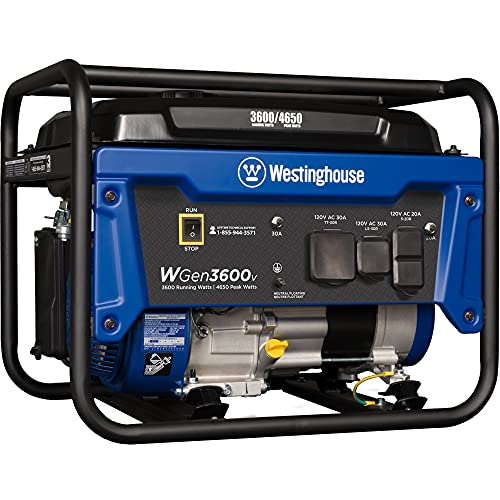
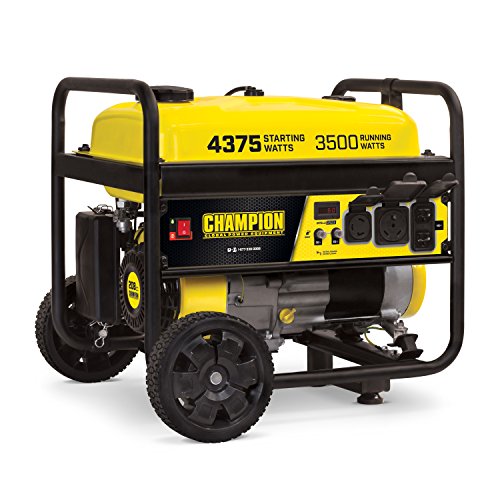
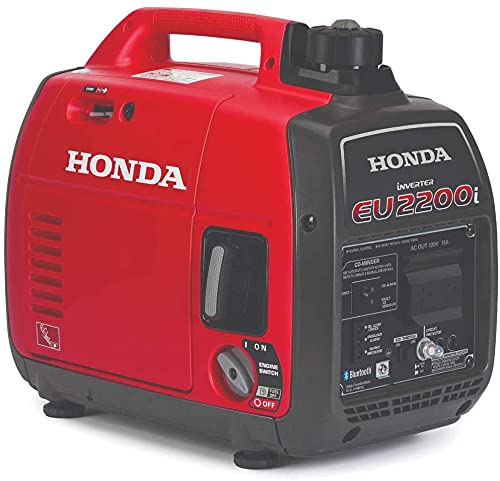
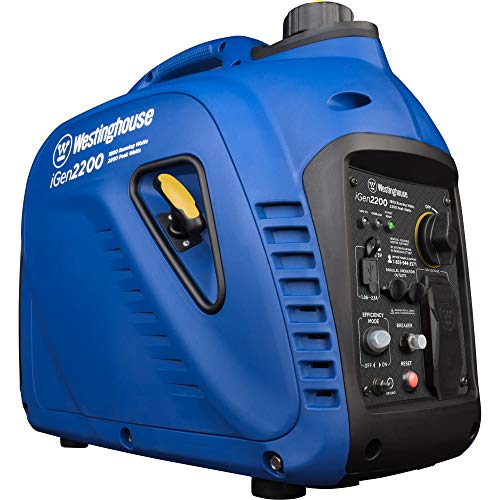
Generators
Yes, you definitely want a Generator. - It’s like taking Shore Power with you! - It will enable you to get by with a smaller Solar setup from the start, and give you piece of mind for when your solar battery bank goes down (and it will).
While this is an area where“bigger is better”, 2000 - 3600 watts is sort of the “sweet spot” and will handle just about anything a typical Skoolie or Vanlife family needs. - Want the “Super Quiet” operation of a Honda without the hefty price tag? Click the images to compare the 2200 watt Westinghouse option.
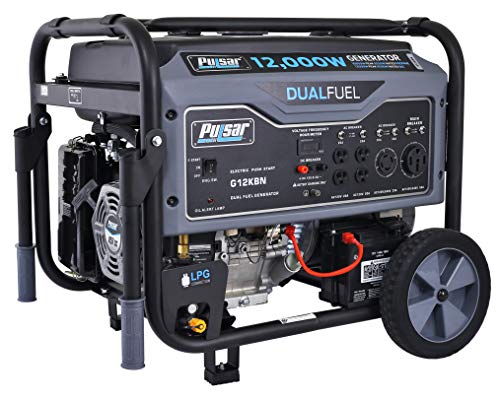
Want to go Bigger? Need to run a big AC and a house full of gear? Regular use of power tools? Check out this Pulsar 12,000 / 9500 unit.
Tech Tip: Since you’re not likely to use Shore Power and your Generator at the same time, Use your Shore Power plug for both. Check out the Solar Cheat Sheet for more info.
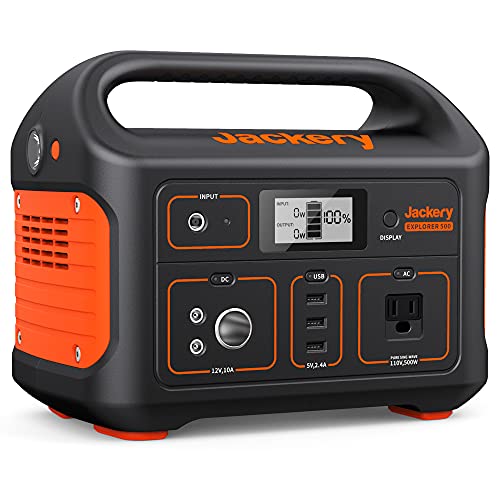
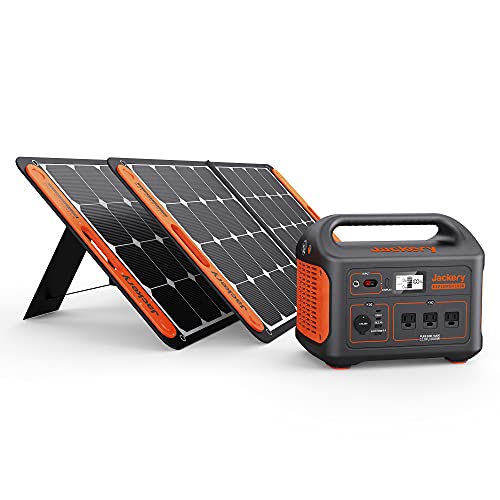
Solar Powered Generators (Jackery)
Essentially a Lithium Ion Battery with an onboard Inverter, Solar “Generators” are not a replacement for a full Solar Setup, but you can run Lights, Computers, Phone Chargers and some smaller appliances.
These are really designed to be Portable Power or an Emergency Backup, but there are those who start with a Jackery until they can afford to expand their Solar Setup. Click the images to explore options.
If you’re going this route, be sure to click the BougeRV link and compare their product. There are lots of knock offs out there, but this company is legit.

From The Driver’s Seat: A clever use of the Jackery is to dedicate it to one high wattage appliance. Plug your coffee maker or air fryer into the Jackery, thereby not draining your House Batteries. - We’re crunching the numbers on if this is a viable way to minimize Solar Setup Costs. - Look for an upcoming Tutorial on the topic.
Tools, Connectors, Brackets, RV Surge Protector, Wire, etc.
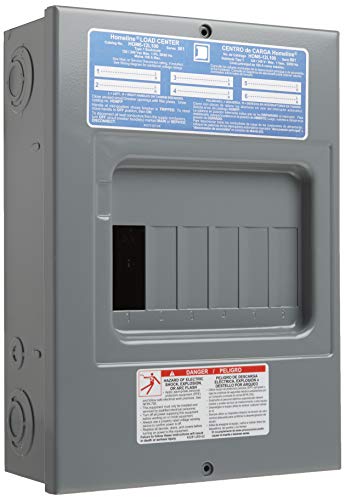
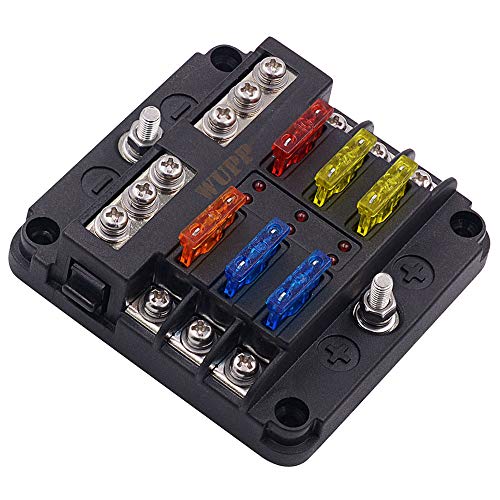
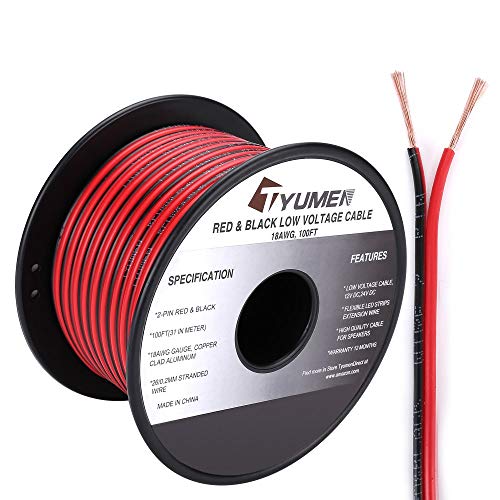
Click on the images below for items you will need and hardware you will use in your Build. See our Solar Cheat Sheet for more info. - Looking for Lighting ideas? Check out our new Skoolie, Vanlife, & RV Lighting Page for everything from LED Strip lights and Reading lamps to 12v Spotlights and Solar options. Please note: Circuit Breakers and Fuses are available in multiple sizes. Click the image to select.


Multiple Sizes Available!


Please Support our Page: - Skoolie Supply is kept alive by your use of our Affiliate Links. Please click our links to see and compare great products (at no additional cost to you).
Prefer to Donate? Please Click Here: Support Skoolie Supply. Thank you!
Check out more Skoolie Swag here.


Check back regularly, as we often change products, and listing categories. Use the search bar below to quickly find items by keyword.